はじめに
2020年最新版Macを購入した方に向けてlaravel環境構築の方法をゼロから解説します。
追記:vue.jsの導入を追加しました。
インストール手順
1.MAMPのインストール
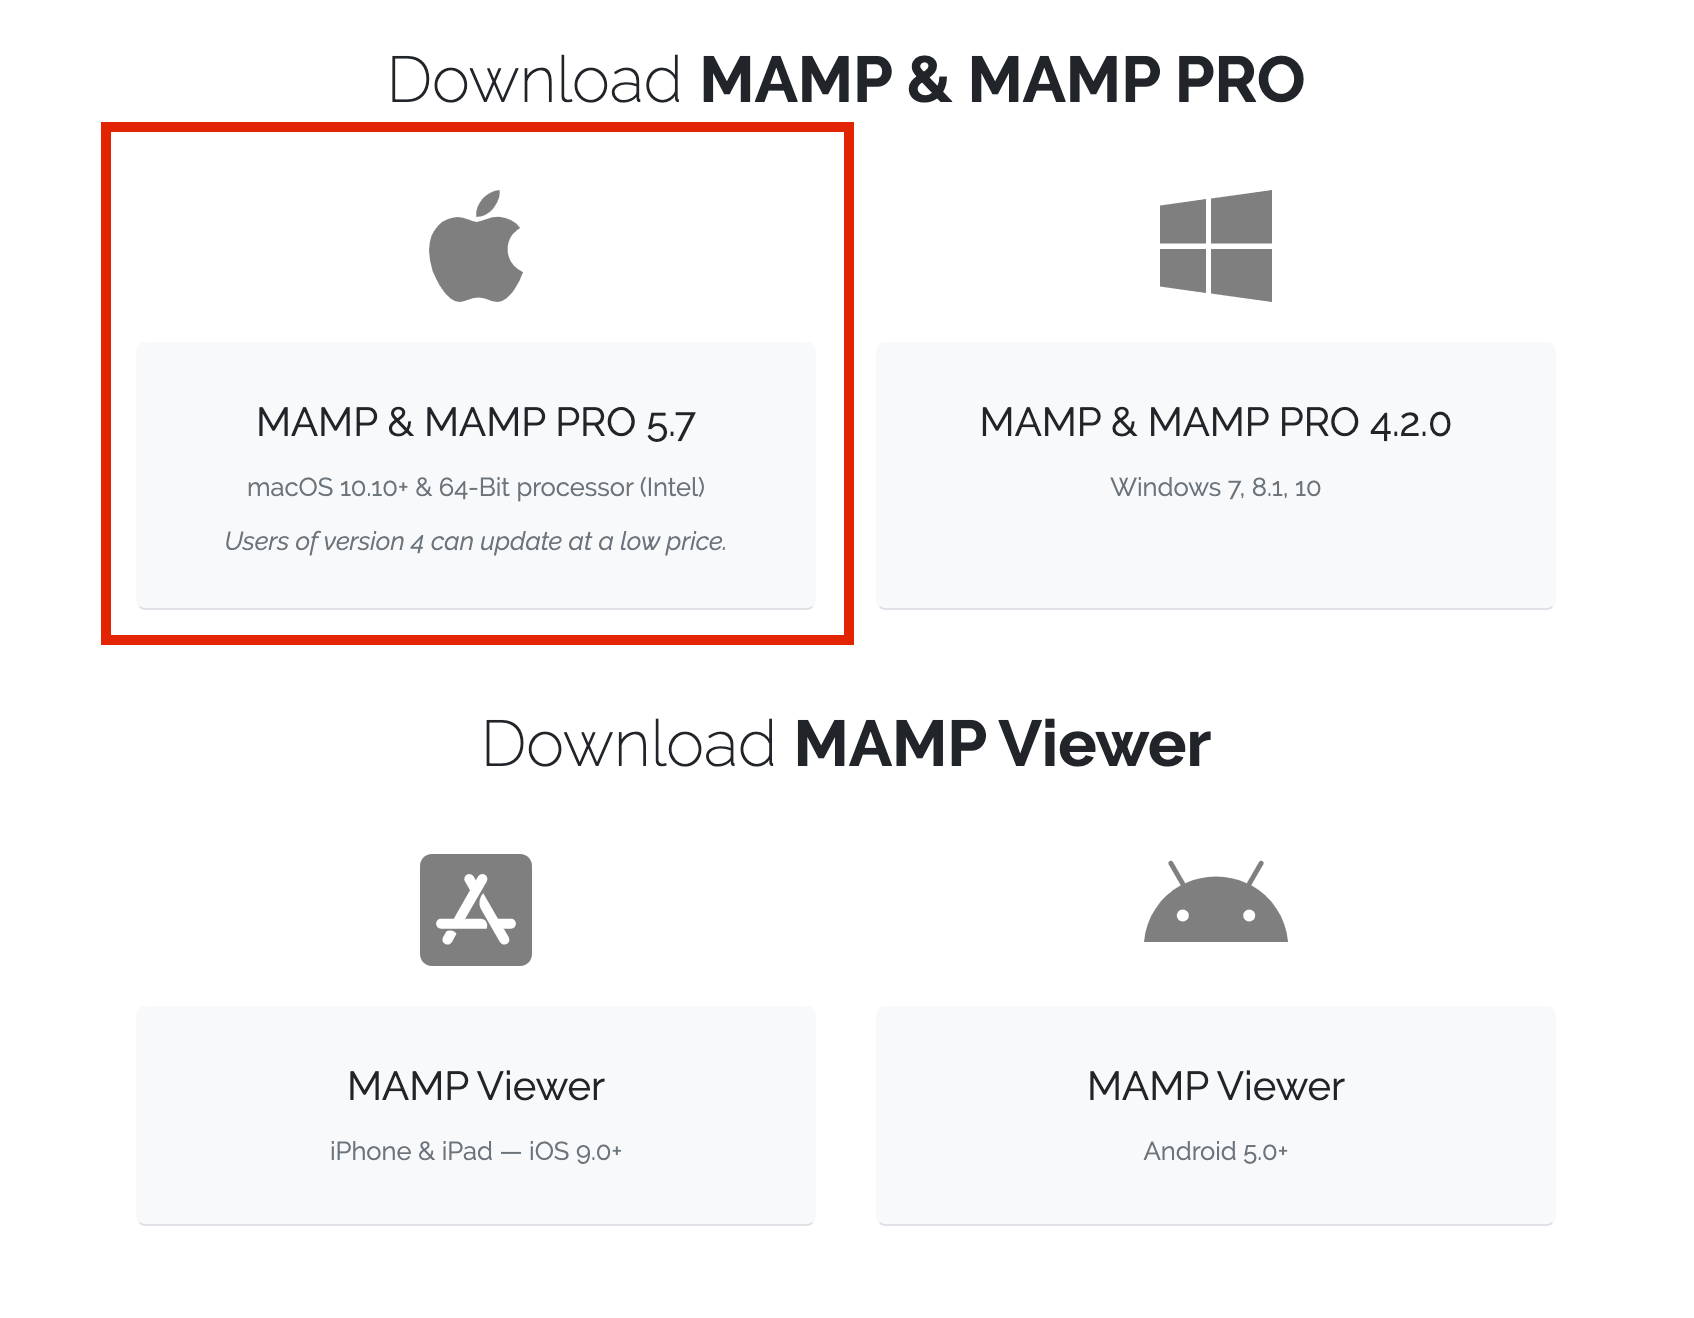
まずは開発環境構築ツールMAMPを公式サイトからインストールします。
freeDownloadから、MAC用のMAMPをダウンロードしてください。

こちらの記事がすごく丁寧でわかりやすいので参考にしてみてください。
【MAC】MAMP(フリー版)のインストールから初期設定+バーチャルホスト設定までをまとめてみた
※全てやる必要はなくMAMPの環境設定までで問題ありません。
2.homebrewのインストール
こちらもhomebrew公式サイトにコードが載ってあるので、コピーしてターミナルに貼り付けるだけです。
bin/bash -c "$(curl -fsSL https://raw.githubusercontent.com/Homebrew/install/master/install.sh)"正常にインストールができているかbrew -v で確認してみましょう。
brew -v

//バージョンが表示されたらOK
Homebrew 2.4.0
Homebrew/homebrew-core (git revision 3d54e; last commit 2020-06-20)
3.composerのインストール
homebrewを使ってcomposerをインストールします。
brew install composerなお、homebrewがインストールできなかった時は下記のコードでもインストールできます。
curl -sS https://getcomposer.org/installer | phpインストールできたらダウンロードファイルを(usr/local/bin)に移動します。
これはcomposerコマンドを呼び出すための作業です。
sudo mv composer.phar /usr/local/bin/composer次にパーミッション(アクセス権)を変更しておきます。
chmod a+x /usr/local/bin/composerこれでcomposerのインストールは完了です。
composer -Vでバージョンが表示されるか確認してみてください。
composer -V

//バージョンが表示されればOK
Composer version 1.10.7 2020-06-03 10:03:56
4.laravelのインストール
laravelインストール前に homebrewでphpのインストールを行う必要があります。
MacデフォルトのPHPでダメな理由はわかりません。すいません。。
筆者はbrew search php@7でバージョン検索し、現在の最新版をインストールしました。
brew search php@7
==> Formulae
php@7.2   php@7.3   php@7.4

brew install php@7.4
ここまできてようやくcomposerを使ってlaravelをインストールします。
composer global require laravel/installerlaravelのコマンドを使うためには、環境変数PATHというものを設定する必要があります。
echo "export PATH=\$PATH:\$HOME/.composer/vendor/bin" >> ~/.zshrc入力したパスを下記コマンドで更新します。
source ~/.zshrclaravel -Vでバージョンが表示されたら完了です。
5.laravelを使って雛形作成(画面表示できたらOK)
下記のコードを入力すると、プロジェクトが作成されます。
※/Applications/MAMP/htdocsで入力してください。
laravel new sample //larvel new プロジェクト名 composer create-project "laravel/laravel=5.8.*" sampleプロジェクトが作成できたら移動してphp artisan serve で起動してみましょう。
移動後、php artisan -Vでバージョンを確認ができます。
cd samplephp artisan serve
//このように出力されればOK
Laravel development server started: http://127.0.0.1:8000
[Sat Jun 20 18:53:01 2020] PHP 7.4.7 Development Server (http://127.0.0.1:8000) started
ブラウザから以下のURLにアクセスして、Laravelアプリケーションのトップページが表示されたら完了です!!!

6.vue.jsのインストール
laravel7は初期状態でインストールされていないので、追加でvueをインストールしていきます。
composer require laravel/ui

php artisan ui vue

//Vue scaffolding installed successfully.
//Please run "npm install && npm run dev" to compile your fresh scaffolding.

npm install

npm run dev
/Applications/MAMP/htdocs/sample/resources/js/app.jsに下記のように追記されていれば成功です。
/**
 * First we will load all of this project's JavaScript dependencies which
 * includes Vue and other libraries. It is a great starting point when
 * building robust, powerful web applications using Vue and Laravel.
 */

require('./bootstrap');

window.Vue = require('vue');

/**
 * The following block of code may be used to automatically register your
 * Vue components. It will recursively scan this directory for the Vue
 * components and automatically register them with their "basename".
 *
 * Eg. ./components/ExampleComponent.vue -> <example-component></example-component>
 */

// const files = require.context('./', true, /\.vue$/i)
// files.keys().map(key => Vue.component(key.split('/').pop().split('.')[0], files(key).default))

Vue.component('example-component', require('./components/ExampleComponent.vue').default);

/**
 * Next, we will create a fresh Vue application instance and attach it to
 * the page. Then, you may begin adding components to this application
 * or customize the JavaScript scaffolding to fit your unique needs.
 */

const app = new Vue({
    el: '#app',
});
7.vue.jsの導入
簡単にvue.jsを表示させてみましょう。
welcome.blade.phpを下記のように書き換えてみてください。
<!DOCTYPE html>
<html lang="{{ str_replace('_', '-', app()->getLocale()) }}">
    <head>
        <meta charset="utf-8">
        <meta name="viewport" content="width=device-width, initial-scale=1">

        <script src="{{ mix('js/app.js') }}"defer></script>

        <title>Vue</title>

        <!-- Fonts -->
        <link href="https://fonts.googleapis.com/css2?family=Nunito:wght@400;600;700&display=swap" rel="stylesheet">

    </head>
    <body>

        <div id="app">
            <example-component></example-component>
        </div>

    </body>
</html>
php artisan serveブラウザから以下のURLにアクセスして、表示されたら完了です!

補足
php artisan serveはControl + cで終了できます。
もし終了せずにターミナルを閉じてしまった時はこちらの記事を参照してみてください。
